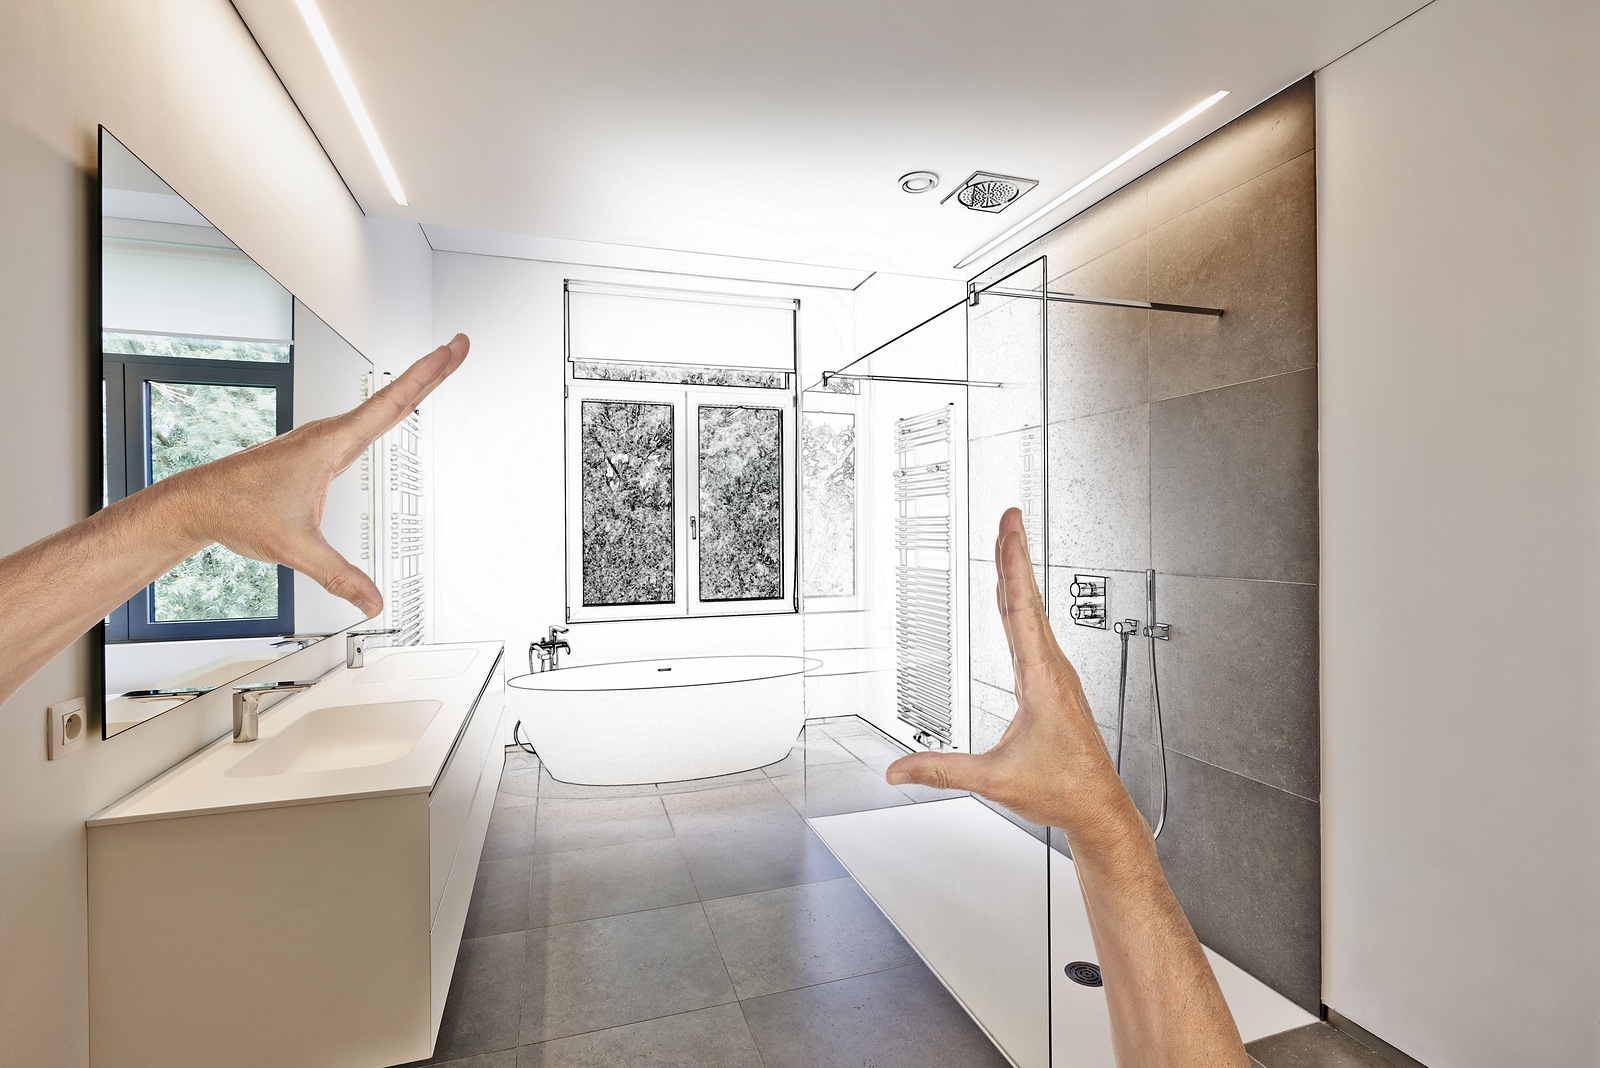
Sometimes, I find taking a shower more refreshing than soaking and hydrotherapy. If you are like me, thinking of going shower may be more appealing than keeping a tub you never will use or find interesting to use. Besides the freedom it offers in getting in and out of your bathroom, it looks like a trendy thing in bathroom infrastructure across the country.
So, if you are considering converting your current tub to walk in shower enclosure, I say welcome to a world of bathroom remodeling.
First thing first, I need to warn you that this is a project you need to be careful before pushing through because once done, it can’t be undone! The only way to undo it is outright replacement and re-installation of a new walk in tub. If that is noted, let’s proceed.
Why would you want to convert your walk in tub to walk in shower?
The reasons we do things differ, but if you are convinced on your decision to convert, I think it should be something you feel strongly about and won’t have to regret it in s short while. But let me guess, you rarely use your tub for all the extra features of soaking and hydrotherapy but need more convenient access and easier to use the bathing system. You want a bathing system that is evergreen and can serve anyone and at any time without being cosmetic about it. Well, if this is it; your choice is perfect, and you can follow this guide to convert your walk in tub to shower.
Things to know about converting your walk in tub
There are two options to convert your tub to shower. The first choice does the conversion through a Do-It-Yourself. If you are a DIY enthusiast, you can gather the conversion tools and material and get to work. This option is less costly, and you can take your time to fix it properly.
For the second option, you will need to hire a professional to do it for you. If you are not very good at following through with DIY instruction, I will advise you contract a professional, pay him to get your bath converted while you stretch your legs and wait for your bathroom to be ready for use.
In this discussion, we will consider both options to guide you on how to achieve your objective without troubles.
Converting your walk in tub to shower enclosure, the DIY option
Discussing the DIY option assumes you understand the basics of plumbing, electrical and mortar works involved. It is recommended to engage a professional in the field if you don’t.
- Get the materials you will need. Taking the DIY option means you do not need a professional to do this. However, you will need the same materials the professional will use in converting your tub. The material you will need include
- Glass shower doors (take the measurement to get the correct size
- The shower tower
- Shower kit (floor, drain, and membrane, make sure to get the right sizes)
- Cement board, mortar, plumbing and wood, tile and grout
- Handle, luxury shower panel
- Start by turning off the water from the source. Dismantle the walk in tub and remove everything from the bathroom. Everything to remove should include the tub, the wall, and all other installation including electrical to leave the bathroom empty without any equipment or accessory.
- Rework the plumbing. You need to reposition the drain and plumbing water supply that will be ideal for your shower panel to be installed.
- Set the drain and plumbing system. Layout the new drain and the plumbing pipe according to the new shower panel you are using. Please make sure you take care with the pipes to guide against leakages as these will be concealed underneath the shower panel and wall; you don’t want any leakage at all after installation.
- Floor installation. After you have completed the drain and plumbing installation, it’s time to install the flooring for your new shower enclosure. Cut out the shower drain hole as you install the flooring.
- Wall installation. Get your cement board to mount it on the wall from floor to ceiling. Remember to make holes for water outlets for shower fixtures.
- Install shower kit. After the wall is fully installed, it’s time to install shower kit including floor, drain, curb and membrane.
- Install the finish. It’s time to install tiles and grout to complete the shower from head to toes. Make holes for water outlets, drain and other accessories like handle and shower panel, but ensure finesse in the cutting of the holes for more beauty.
- Install luxury panel and handle. Time to install the luxury shower panel according to manufacturer installation instructions and install the handle for safety purposes.
- Install shower doors. Now, it’s time to install the doors to complete your luxury shower. The door comes with instruction for installation, follow it and complete your new walk in shower enclosure.
That will be all you need for converting your walk in tub with shower enclosure. After you have completed the installation, allow the materials to dry, and you can test your new walk in luxury shower.
Converting your walk in tub to shower enclosure, using professional
After you have determined what you need and concluded on going for a conversion of your walk in tub to a shower enclosure, the following steps get you there.
- Identify the professional walk in shower installer/business. You have the option of engaging either an individual or a professional business installer to handle your project.
- Ask for quote. After identifying the professional installer, send them detail of your need and ask them to send you a quote for the job. At this juncture, some professional would prefer visiting your home for assessment before giving a quote, while some would send you a ballpark quote.
- Ask questions. After you received the price quote, take the time to look through and ask questions. Note that you need to ask questions you feel the urge to ask. Be sure to ask anything question that pops up in your head about your proposed project.
- Hire a professional. After due consideration of the quote, decide on one to fix your shower.
- Make payment. Your contract with the installer will indicate how to pay for the project, follow your agreement and get the installer on site.
- Inspect the final work. After installation, you need to test the final work to make sure it meets your expectation and if not, let the installer know and agree on fixing it. Otherwise, enjoy your new shower facility.


